Discussion of Techniques of Transformations
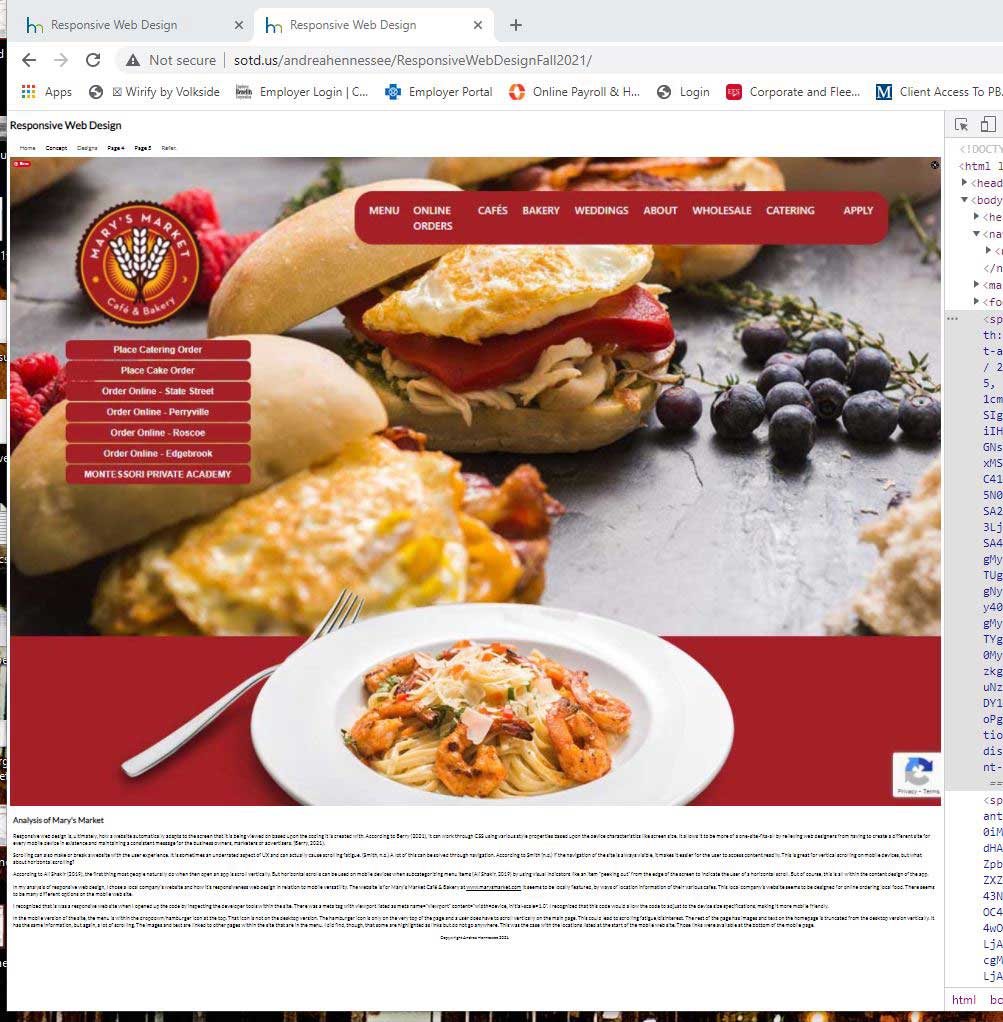
It was quite a challenge for me to work on this portion and make my site with responsive design. The image is what the original site looked like before I worked on making it more responsive. I had a deep learning process in this module.
My process started with reviewing the navigation that I had already created. I needed to remove the horizontal and float features that I had already used. This was needed to create something that is called a “hamburger nav” bar, for use of mobile first design. I think that my first issue, as I was not thinking in a mobile first aspect. I utilized the navigation demo video that the professor had for us to use, and broke it down minute by minute while watching and doing it on a copy of my site. I also utilized the dev tools more when developing the responsive site. I had a hard time understanding where I can see and understand the CSS features in the dev tools. I did utilize a few YouTube resources and the W3School site when trying to understand it better.
There were a couple limitations, or learning curves that I ran into. A limitation in my design, from my mock-up, was the bars that I wanted in the navigation. I could not understand how to get a solid one that I wanted, so I went with the one that has an underline underneath each ul li item. Another limitation that I ran into was creating the columns for the two-column text within a larger, tablet or desktop application. I actually went back to the W3School website for this, as it had a great tutorial.
My final step was testing my site within the dev tools. I wanted to make sure that the mobile cell phone size responded correctly by having the hamburger navigation, along with the desktop site and tablet by removing the hamburger navigation. I completed this by validating the CSS and HTML. The only possible error was a warning in HTML that the role “navigation” was not needed.
By the end of this module, had learned A LOT regarding responsive design.